
Top 10 Essential Tips for Painting Wood Fences Like a Pro
- support74418
- Nov 30, 2025
- 4 min read
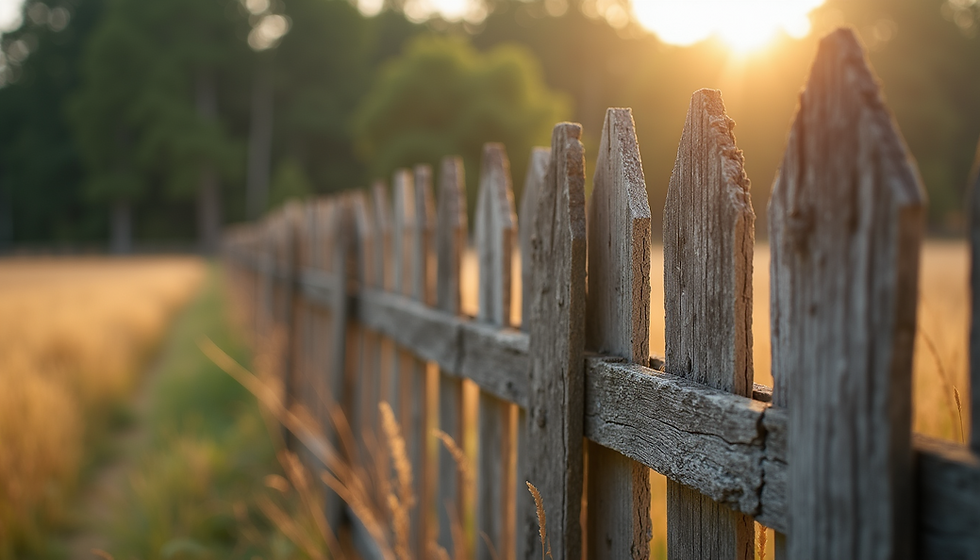
Painting a wood fence can dramatically improve your home's curb appeal and protect your investment from weather damage. Yet, many homeowners struggle to get a smooth, long-lasting finish. Fence painting is more than just slapping on a coat of paint; it requires preparation, the right materials, and proper technique. This guide shares the top 10 tips to help you paint your wood fence like a professional, ensuring a beautiful and durable result.

1. Choose the Right Time and Weather Conditions
Painting wood fences requires dry weather and moderate temperatures. Avoid painting on rainy days or when rain is expected within 24 hours. High humidity or extreme heat can cause paint to dry too slowly or too quickly, leading to cracking or peeling.
Ideal conditions:
Temperature between 50°F and 85°F (10°C to 29°C)
Low humidity
No strong winds that can blow dust onto wet paint
Plan your fence painting project during a stretch of good weather to ensure the paint cures properly.
2. Select the Best Paint and Primer for Wood Fences
Not all paints are created equal. For wood fences, use exterior-grade paint designed to withstand sun, rain, and temperature changes. Acrylic latex paint is a popular choice because it resists fading and cracking.
Before painting, apply a primer specifically made for wood. Primer seals the wood, blocks stains, and improves paint adhesion. Using primer extends the life of your paint job and prevents peeling.
Tips for paint and primer:
Use a stain-blocking primer if your fence has knots or tannin stains
Choose paint with UV protection to prevent color fading
Pick a paint finish that suits your style: satin or semi-gloss for easier cleaning, flat for a natural look
3. Prepare the Fence Surface Thoroughly
Preparation is the foundation of a professional paint job. Clean your fence to remove dirt, mildew, and old peeling paint. Use a pressure washer or scrub with a stiff brush and a mixture of water and mild detergent.
After cleaning, let the fence dry completely—this can take 24 to 48 hours depending on weather.
Next, sand rough spots and remove loose paint flakes with medium-grit sandpaper. This creates a smooth surface for paint to stick.
Preparation checklist:
Remove nails or screws sticking out
Repair damaged boards or replace rotten wood
Cover nearby plants and ground with drop cloths to protect from paint splatters
4. Use Proper Tools for Fence Painting
The right tools make fence painting faster and neater. For most fences, a combination of brushes and sprayers works best.
Brushes: Use a high-quality angled brush for edges, corners, and detailed areas. A 3- to 4-inch brush is ideal.
Rollers: Use a roller with a thick nap (3/4 inch) for flat fence panels to cover large areas quickly.
Paint sprayers: If you have a large fence, a sprayer can speed up the job. Practice first to avoid drips and overspray.
Keep a paint tray handy and clean brushes with water immediately after use to maintain their quality.
5. Apply Primer and Paint in Thin, Even Coats
Applying paint too thickly causes drips and uneven drying. Instead, apply thin, even coats for a smooth finish.
Start with a coat of primer, covering all surfaces including edges and ends of boards. Let the primer dry fully according to the manufacturer’s instructions.
Then apply the first coat of paint using long, smooth strokes following the wood grain. Allow it to dry completely before applying a second coat. Two coats usually provide the best coverage and durability.
6. Paint Fence Posts and Rails Carefully
Fence posts and rails often get overlooked but need the same attention as panels. Paint all sides of posts and rails to protect them from moisture and decay.
Use a smaller brush for tight spots and corners. Pay special attention to the bottom of posts where water can collect.
7. Maintain Consistent Technique and Pace
Fence painting requires patience and consistency. Work methodically from one section to the next to avoid missing spots or overlapping wet paint.
Keep your brush or roller loaded but not dripping. Use smooth, even strokes and avoid going back over drying paint, which can cause streaks.
If using a sprayer, maintain a steady distance and speed for uniform coverage.
8. Protect Surrounding Areas and Yourself
Fence painting can be messy. Protect nearby plants, grass, and walkways with drop cloths or plastic sheeting.
Wear old clothes, gloves, and safety glasses. If using a paint sprayer, consider a mask to avoid inhaling fumes.
Clean up spills immediately with water or paint thinner depending on the paint type.

9. Allow Proper Drying and Curing Time
Even after the paint feels dry to the touch, it needs time to cure fully. Avoid leaning objects against the fence or exposing it to heavy rain for at least a week.
Proper curing ensures the paint bonds well and lasts longer. Check the paint can for recommended drying and curing times.
10. Plan for Regular Maintenance
A painted wood fence requires upkeep to stay looking good. Inspect your fence annually for peeling paint, cracks, or damage.
Clean the fence yearly to remove dirt and mildew. Touch up any chipped or worn areas promptly to prevent wood damage.
Repainting every 3 to 5 years keeps your fence protected and attractive.

Painting your wood fence is a rewarding project that enhances your home's appearance and protects your investment. By choosing the right materials, preparing the surface carefully, and applying paint with proper technique, you can achieve a professional finish that lasts for years.
Start by checking the weather forecast and gathering quality paint and tools. Take your time with preparation and painting, and remember that maintenance keeps your fence looking great long after the paint dries.


Comments